MRCOOL DIY 12,000 BTU Review: Is It Really Worth It?
The MRCOOL DIY mini split has one of the most loyal followings in the home cooling space — and one of the most skeptical crowds. Homeowners who’ve installed it swear by it. HVAC professionals have plenty of opinions. After digging through installation videos, long-term owner reviews, and technical specs, here’s what you actually need to know before spending $1,000+.
Bottom line up front: For the right homeowner, the MRCOOL DIY is an excellent product that delivers genuine mini split performance at a price that includes eliminating professional installation costs. But it’s not for everyone.
MRCOOL DIY 12,000 BTU — At a Glance
| Spec | Detail |
|---|---|
| BTU | 12,000 cooling / 13,000 heating |
| SEER | 22 (excellent) |
| HSPF | 10 (good heating efficiency) |
| Coverage | Up to 550 sq ft |
| Min outdoor temp (heating) | -13°F |
| Noise (indoor) | 27–38 dB |
| Noise (outdoor) | ~56 dB |
| Refrigerant | Pre-charged R-410A |
| Line set length | 25 ft included (extends to 50 ft) |
| Wi-Fi | Yes (SmartHVAC app) |
| Works with | Alexa, Google Home, SmartThings |
| Warranty | 7 years compressor, 5 years parts |
| Typical price | ~$1,099 |

What Makes It “DIY”?
Traditional mini splits require a licensed HVAC technician to handle refrigerant — specifically, to connect the refrigerant lines and charge the system. In most states, this requires EPA Section 608 certification.
The MRCOOL DIY solves this with pre-charged, quick-connect refrigerant lines. The refrigerant is already sealed inside the line set. To connect it, you snap the Quick Connect fittings together — similar to connecting a garden hose. No vacuum pump, no manifold gauges, no refrigerant certification needed.
This is a legitimate innovation. It works well in practice, and thousands of successful DIY installs have proven the concept.
What you still need:
- A licensed electrician to wire the dedicated 240V circuit (required by code in all US states)
- Basic carpentry skills to mount the indoor and outdoor units
- Confidence with a drill, level, and following detailed instructions
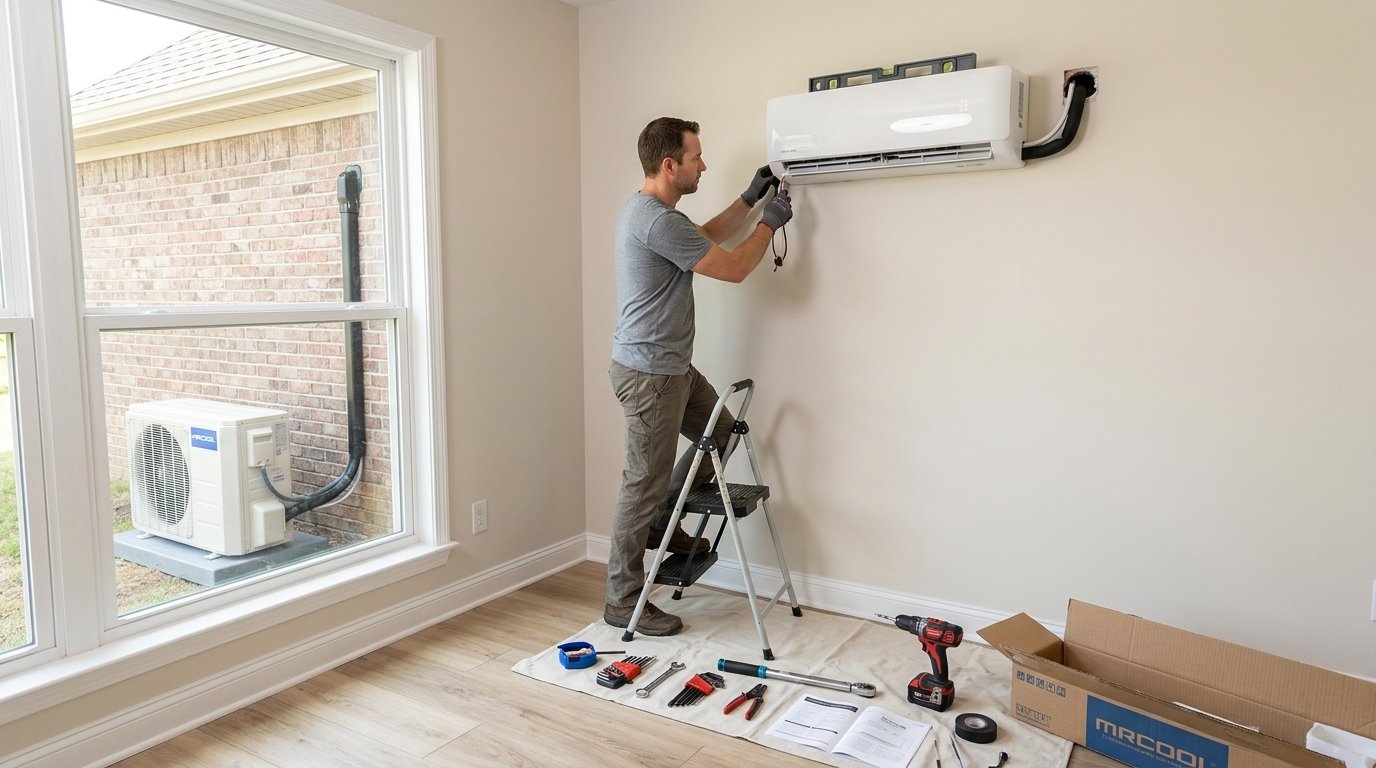
Installation: What It’s Actually Like
Most capable DIYers complete the installation in 4–8 hours over a weekend. Here’s a realistic breakdown:
Tools Required
- Drill with hole saw (2.5–3 inch bit)
- Level
- Stud finder
- Wire stripper
- Adjustable wrench
- Screwdriver set
Installation Steps
1. Mount the indoor unit wall bracket (30 min)
2. Drill the wall penetration hole (15 min)
3. Run the line set through the wall (30 min)
4. Mount the outdoor unit on a pad or brackets (30 min)
5. Connect refrigerant lines (Quick Connect) (15 min)
6. Connect drain line (15 min)
7. Have electrician wire the 240V circuit (separate appointment)
8. Test and commission (30 min)
Common Installation Challenges
- Finding wall studs at the right spacing — The indoor unit bracket must hit studs. If your studs aren’t in the ideal location, you may need a backing board.
- Routing the line set — If you need to go around corners or through a finished wall, routing gets more complex. The included 25 ft set works for most installs; extensions are available.
- The outdoor unit location — Needs adequate clearance (18″ on sides, 24″ in front), must be level, and ideally shouldn’t sit on the ground in areas with significant snowfall.
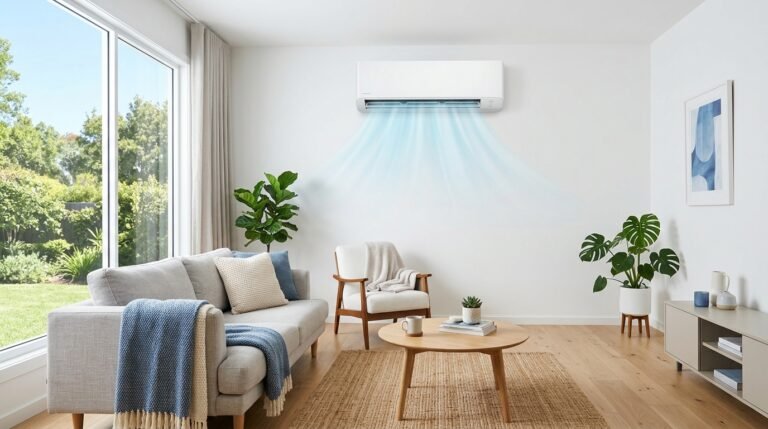
Performance: Does It Cool as Well as “Real” Mini Splits?
This is the most common question — and the answer is yes, with some nuance.
The MRCOOL DIY uses a quality compressor and achieves SEER 22 efficiency, which matches or beats many professional mini splits costing twice as much. In terms of day-to-day cooling performance for a properly sized room, most users can’t tell the difference between an MRCOOL DIY and a Pioneer or Mitsubishi.
The Quick Connect refrigerant system does introduce a small risk: if the connection isn’t made properly, you can have a slow refrigerant leak that reduces performance over time. This is rare when following the instructions correctly, but it’s the technical trade-off versus a professionally brazed refrigerant connection.
Real-world performance summary:
- Cools a 400 sq ft room from 85°F to 70°F in approximately 20 minutes on a 90°F day
- Dehumidifies effectively (this matters as much as temperature)
- Heating works well even in cold climates down to -13°F
- Auto mode accurately maintains set temperature
Smart Features and App
The SmartHVAC app connects via Wi-Fi and gives you:
- Remote on/off and temperature control
- Scheduling (including geofencing — turns on when you’re 10 miles from home)
- Energy usage tracking
- Alexa and Google Home integration
- SmartThings compatibility
The app works reliably once set up. Initial setup can be frustrating — the 2.4GHz Wi-Fi requirement trips up users with newer mesh networks that auto-select 5GHz. The fix is straightforward (connect to 2.4GHz SSID directly during setup), but MRCOOL could improve the instructions.
Voice control via Alexa works well: “Alexa, set the bedroom to 72 degrees” reliably adjusts the unit.
What Long-Term Owners Say
After reviewing hundreds of verified purchase reviews (6+ months of ownership):
Positive themes:
- “Still running perfectly after 2 years”
- “Electric bill dropped significantly — AC runs all day but costs less than the portable did”
- “Installation was easier than I expected”
- “Customer support was helpful when I had a question”
Negative themes:
- “App connectivity drops occasionally and needs manual reconnect”
- “Outdoor unit is louder than I expected”
- “The included line set wasn’t quite long enough for my install (bought an extension)”
Who Should Buy the MRCOOL DIY?
It’s a great fit if:
- You’re a homeowner who wants to avoid $500–$1,500 in installation labor
- You’re comfortable with a full day of DIY work
- You want smart home integration
- You’re cooling a room 400–550 sq ft
Consider alternatives if:
- You want absolute top-tier efficiency (Mitsubishi or Daikin have higher SEER ratings)
- You’re uncomfortable with a drill or following technical instructions
- You need to cool a room over 550 sq ft (larger MRCOOL models exist)
- Your wall is more than 25 ft from a good outdoor unit location
MRCOOL DIY vs. Key Competitors
MRCOOL DIY vs Pioneer WYS012GMFI19RL
| MRCOOL DIY | Pioneer WYS012 | |
|---|---|---|
| Price (unit only) | ~$1,099 | ~$699 |
| Installation | DIY-friendly | Professional required |
| Total cost (with install) | ~$1,200–$1,400 | ~$1,200–$2,200 |
| SEER | 22 | 19 |
| Wi-Fi | Yes (built-in) | No (adapter sold separately) |
| Warranty | 7yr compressor | 5yr parts |
The MRCOOL’s higher unit price often evens out once you factor in professional installation for the Pioneer. If you’re handy, MRCOOL wins on total cost and features.
MRCOOL DIY vs Mitsubishi MSZ-GL09NA
The Mitsubishi is in a different performance league (SEER 33, near-silent operation, legendary reliability), but costs $1,200+ for the unit alone, plus $1,000–$2,000 installation, and requires an authorized dealer. For homeowners with a specific need for maximum efficiency or extreme reliability, it’s worth it. For everyone else, the MRCOOL DIY delivers 80% of the performance at a fraction of the total cost.
Related Guides
- Best Mini Split Systems 2026 — All Top Picks Compared
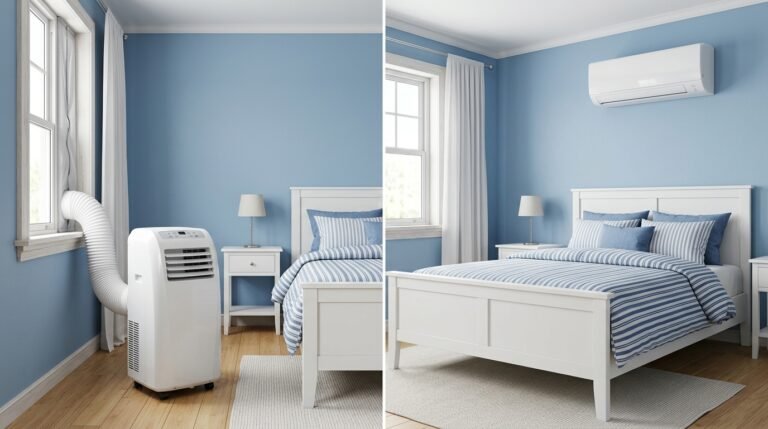
- Portable AC vs Mini Split: Which Should You Buy?
- BTU Calculator — Find the Right Size for Your Space
- Best Portable Air Conditioners 2026
Final Verdict
Rating: 4.5 / 5
The MRCOOL DIY delivers on its core promise: genuine mini split performance at a price a motivated homeowner can achieve without an HVAC contractor. The Quick Connect system works, the efficiency is excellent, and the smart features are genuinely useful.
The caveats are real — installation still requires a few hours of focused work and a licensed electrician for the circuit — but compared to paying $1,500+ for professional installation of a comparable unit, the math is compelling.
If you own your home, are comfortable with tools, and want the best cooling per dollar, this is one of the best options on the market.
Frequently Asked Questions
Do I really not need a professional to install the MRCOOL DIY?
You don’t need an HVAC tech for the refrigerant lines, which is the usual licensed-professional requirement. However, you do need a licensed electrician for the dedicated 240V circuit — this is required by electrical code in all US states, not optional.
What happens if the Quick Connect leaks refrigerant?
Performance gradually declines — the unit will cool, but less effectively. MRCOOL’s warranty covers refrigerant issues when the unit is installed per instructions. Signs of a slow leak include reduced cooling over several months and ice buildup on the line set.
Can the MRCOOL DIY be installed by one person?
Technically yes, but having a second person makes it much easier — especially for holding the indoor unit bracket in place while you mark and drill.
Does it work well in very humid climates?
Yes. The dehumidification function removes significant moisture from the air, which matters as much as temperature control in humid regions. The self-evaporating outdoor unit handles condensation effectively.
What size MRCOOL DIY should I get?
Use our BTU Calculator for a precise answer. As a general rule: 9,000 BTU for rooms up to 350 sq ft, 12,000 BTU for 350–550 sq ft, 18,000 BTU for 550–750 sq ft.
Last updated: May 2026. Prices may vary. As an Amazon Associate, we earn from qualifying purchases.