How to Install a Window Air Conditioner: Step-by-Step Guide
Installing a window air conditioner is easier than most people think. You don’t need a technician, special skills, or expensive tools. With the right preparation, most people finish the job in under 45 minutes.
This guide walks you through every step — from measuring your window to sealing the gaps — so your unit runs efficiently from day one.

LG 6,000 BTU Window Air Conditioner
What You’ll Need Before You Start
Tools:
- Tape measure.
- Phillips head screwdriver or drill.
- Level.
- Pencil.
Materials:
- Window air conditioner unit.
- Foam weatherstripping tape.
- Window AC support bracket (recommended for units over 50 lbs).
- Painter’s tape (optional, for marking measurements).
Is Your Window Compatible?
Before lifting anything, confirm your window can actually fit a window AC unit.
Single-Hung vs Double-Hung Windows
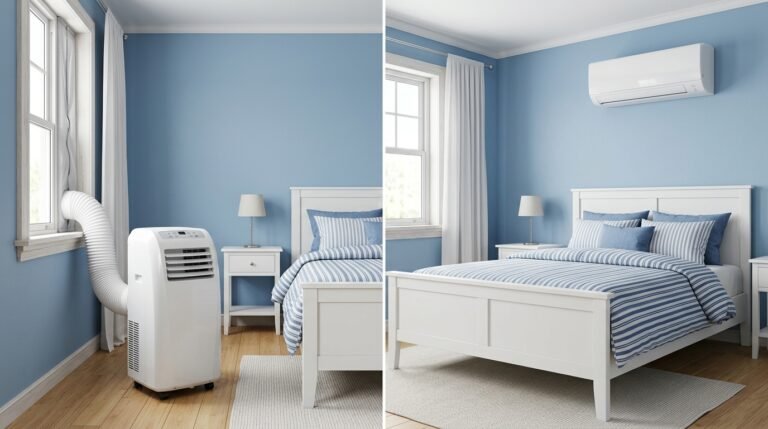
Most window AC units are designed for double-hung windows — the kind where the bottom panel slides up. These are the most common in US homes.
Single-hung windows (where only the top panel moves) also work. Casement windows (the crank-open style) do not work with standard window AC units — you would need a portable AC instead.
How to Measure Your Window Opening
Raise your window fully and measure the width of the opening. Standard window AC units require a minimum opening of 23 inches wide. Check your specific unit’s manual for the exact minimum and maximum width it supports.
Also measure the height of the opening. Most units need at least 13 to 15 inches of vertical clearance.
Weight and Support
If your unit weighs more than 50 lbs, install a support bracket on the exterior of the window. This prevents the unit from putting too much pressure on the window sill and keeps it secure during strong winds.
How to Install a Window Air Conditioner (Step-by-Step)
Follow these steps in order. Skipping any of them can damage your unit, your window, or both.
Step 1 — Read the Manual and Confirm the BTU Rating
Before anything else, open the manual. Every unit installs slightly differently. Look for the installation diagram — it shows you exactly where the brackets and screws go for your specific model.
LG 6,000 BTU Window Air Conditioner
Also confirm the BTU rating is right for your room. A unit that is too small will run constantly without cooling properly. A unit that is too large will cool too fast without removing humidity, leaving the room feeling damp. As a general rule, you need roughly 20 BTUs per square foot of living space.
Step 2 — Prepare the Window
Clean the window sill with a damp cloth. Remove any debris, old paint chips, or buildup that could prevent the unit from sitting level.
Open the lower sash fully and check that it moves smoothly. If it sticks, the weight of the AC unit will make it worse.
Step 3 — Attach the Side Accordion Panels
Most window AC units come with accordion-style side panels that extend to fill the gaps on each side of the unit.
Slide these panels out before placing the unit in the window. They attach to a track on each side of the unit — slide them out but do not fully extend them yet. You will adjust them once the unit is in position.
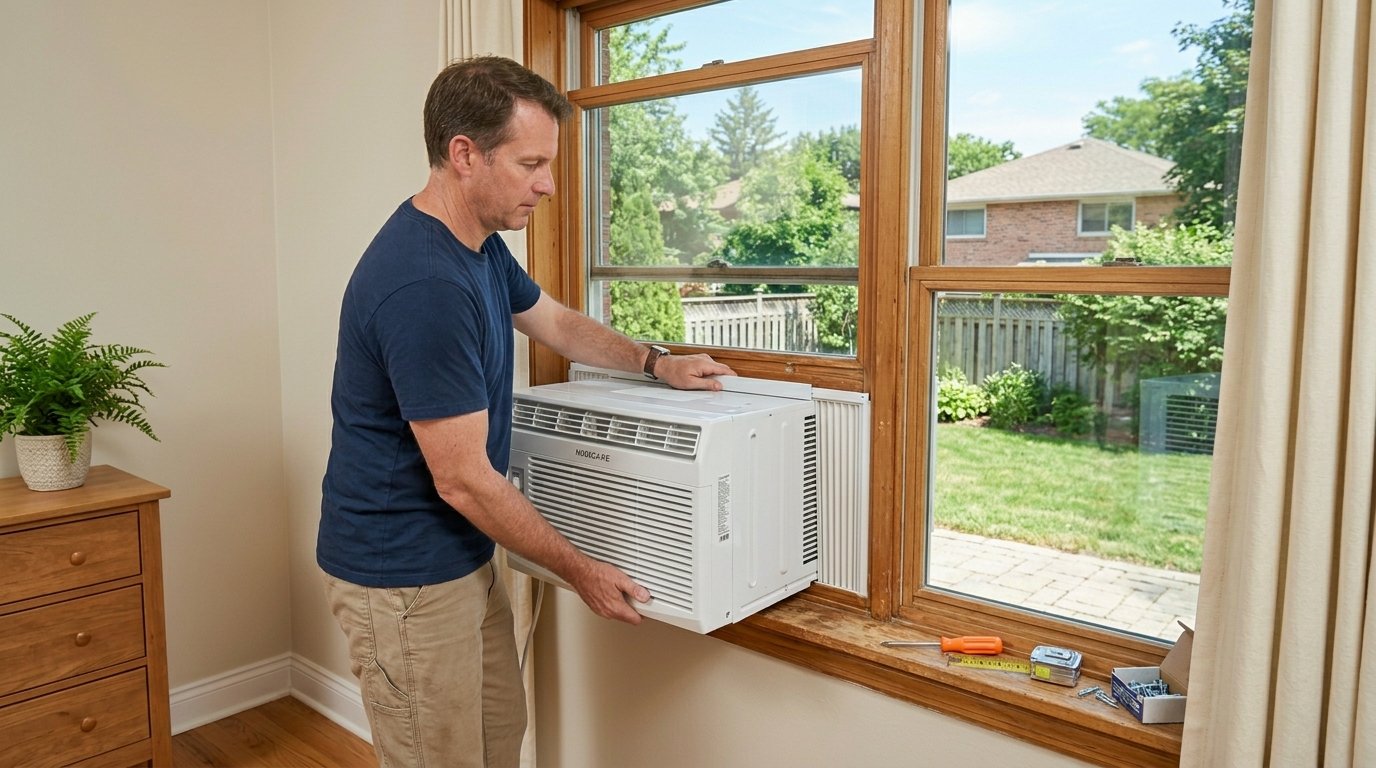
Step 4 — Place the Unit in the Window
This is the heaviest part of the installation. If your unit weighs more than 50 lbs, have someone help you.
Lift the unit and set it on the window sill so it straddles the lower sash. The front of the unit (where the controls and air intake are) should face inside. The back (where the exhaust and coils are) should face outside.
Use your level to check the tilt. The unit should be very slightly tilted toward the outside — about a quarter inch lower on the exterior side. This lets condensation drain outside instead of dripping into your room.
Lower the window sash down onto the top of the unit until it sits snugly.
Step 5 — Secure with Mounting Hardware
Open the manual and install the mounting brackets that came with your unit. These typically include:
- A top bracket that screws into the window sash above the unit.
- Side brackets or L-brackets that anchor the unit to the window frame.
Screw these in firmly. Do not skip this step — without brackets, strong winds or an accidental bump can knock the unit out of the window.
If you are using an external support bracket, install it now according to the bracket’s instructions before fully releasing the weight of the unit.
Step 6 — Seal the Gaps
Extend the accordion panels on each side until they touch the window frame. Screw or press them into place according to your manual.
- Now seal the edges with foam weatherstripping tape. Press the tape firmly along:
- The top of the lower sash where it meets the unit.
- The sides where the accordion panels meet the window frame.
- Any visible gaps between the unit and the sill.
This step directly affects your energy bill. A poorly sealed installation can lose 20 to 30 percent of the cooling efficiency before the air even reaches your room.
Step 7 — Plug In and Test
Plug the unit into a dedicated wall outlet. Window AC units should never share a circuit with other high-draw appliances, and you should never use an extension cord.
Turn it on and set it to the lowest temperature. Listen for the first 5 minutes:
- A slight humming and the sound of the compressor starting is normal.
- Rattling or vibrating usually means the unit is not sitting level — turn it off and recheck with your level.
- Water dripping outside is normal — that is the condensation draining correctly.
Important Safety Tips
- Never install a window AC unit alone if it weighs more than 50 lbs.
- Always plug into a dedicated 15 or 20 amp circuit.
- Never use an extension cord — it is a fire hazard and voids most warranties.
- Check that your window frame can support the weight of the unit.
- Install on a north or east-facing window when possible — units in direct afternoon sun work harder and use more electricity.
Common Mistakes to Avoid
Not sealing the gaps. This is the most common mistake. Even small gaps let hot air in and cool air out, forcing the unit to run longer and driving up your electricity bill.
Installing with an inward tilt. The unit must tilt slightly outward. If it tilts inward even slightly, condensation drains back into your room instead of outside.
Choosing the wrong BTU size. Bigger is not always better. An oversized unit cools the air temperature quickly but does not run long enough to remove humidity. Your room will feel cold and clammy.
Skipping the support bracket. Heavy units put serious stress on the window sill over time. A bracket costs under $20 and can prevent your unit from falling out.
Using an extension cord. Window AC units draw significant power. Extension cords are not rated for continuous high-draw appliances and can overheat.
How to Remove a Window AC Unit for Winter
When temperatures drop, storing your unit properly extends its lifespan.
- Turn the unit off and unplug it.
- Remove the mounting screws and brackets.
- Have someone help you lift the unit back inside.
- Clean the filter before storing.
- Cover the unit with a plastic bag or AC storage cover to keep dust out.
- Store upright — never on its side or back, as this can damage the compressor.
Frequently Asked Questions
How long does it take to install a window air conditioner?
Most people complete the installation in 30 to 45 minutes. If it is your first time, budget an hour to read the manual and take your time with the sealing step.
Do I need a professional to install a window AC?
No. Window AC installation is a standard DIY job that requires no special skills or licenses. The only exception is if your home needs electrical work to add a dedicated circuit.
Can I install a window AC in a casement window?
No. Casement windows open outward on a hinge and cannot support a standard window AC unit. A portable air conditioner is the correct solution for casement windows.
What happens if my AC tilts inward?
Condensation will drain back into your room instead of outside. Over time this can damage your floor or wall and create mold. Turn the unit off, remove it, and reinstall with a slight outward tilt.
How do I know what BTU size I need?
The general rule is 20 BTUs per square foot. A 150 sq ft bedroom needs around a 5,000 BTU unit. A 300 sq ft living room needs around a 8,000 BTU unit. Rooms with high ceilings, lots of windows, or direct sunlight may need 10 to 20 percent more.
Related Guides
- Best Window Air Conditioners 2026 — Top Picks & Reviews
- BTU Calculator — Find the Right Size AC for Your Room
- Best Portable Air Conditioners 2026
- Portable AC vs Mini Split: Which Should You Buy?
Final Thoughts
Installing a window air conditioner is a straightforward job when you follow the steps in order. The two things that matter most are getting the tilt right and sealing all the gaps properly — those two steps alone determine how efficiently your unit runs all summer.
If you have not picked a unit yet, our guide to the best window air conditioner units walks through the top-rated options for every room size and budget.
When shopping for a replacement or new unit, look for ENERGY STAR certified window air conditioners — they use at least 10% less energy than standard models and can save $30 or more per year on your electricity bill.
Check your local building code requirements at the Building Energy Codes Program website before installation — some jurisdictions have efficiency minimums for new AC equipment.
Frequently Asked Questions
How long does it take to install a window air conditioner?
Most window AC units can be installed in 30 to 60 minutes. First-time installers should budget about 90 minutes to read instructions and seal properly.
Do I need a support bracket for my window AC?
Units over 80 lbs or installed in windows without a wide sill may need a support bracket. Check the manufacturer’s weight recommendations and your window type before skipping the bracket.
Should a window AC tilt inward or outward?
A window AC should tilt very slightly outward (about 1/4 inch) so condensate drains outside rather than into your home.
What size window AC do I need?
Use 20 BTU per square foot as a starting point: 5,000 BTU for 150–250 sq ft, 8,000 BTU for 300–400 sq ft, 12,000 BTU for 450–550 sq ft. Adjust up for sunny rooms or high ceilings.
Can I install a window AC in a casement window?
Standard window ACs are designed for double-hung windows and won’t fit casement windows. For casement windows, use a casement-specific AC unit or a portable air conditioner with a window kit.