How to Install a Ductless Mini Split System Yourself (DIY Guide 2026)
Installing a ductless mini split yourself can save $1,000 to $3,000 in labor costs. Some systems — like the MRCOOL DIY series — are specifically designed for homeowner installation and ship pre-charged with refrigerant. Others require a licensed HVAC technician for the refrigerant line connections. This guide covers both paths.
Can You Install a Mini Split Yourself?
The short answer: it depends on the system. There are two categories:
- Pre-charged DIY systems (MRCOOL DIY, Pioneer DIY): These come with pre-filled line sets. No refrigerant handling required. A competent DIYer can complete the job in a weekend.
- Standard systems (Mitsubishi, Daikin, LG, etc.): These require a licensed HVAC tech to handle refrigerant — it’s federally regulated. You can still do the mounting and wiring yourself to save some labor cost.
In either case, you’ll need a licensed electrician (or be comfortable with electrical work) for the dedicated circuit.
Tools and Materials You’ll Need
- Drill with hole saw (2.5–3 inch bit)
- Level and stud finder
- Pipe cutter or hacksaw
- Flare tool (for standard systems)
- Vacuum pump and manifold gauge set (for standard systems)
- Mounting hardware (usually included)
- Electrical conduit and wire
- Disconnect box (required by code)
Step-by-Step: Installing a DIY Mini Split
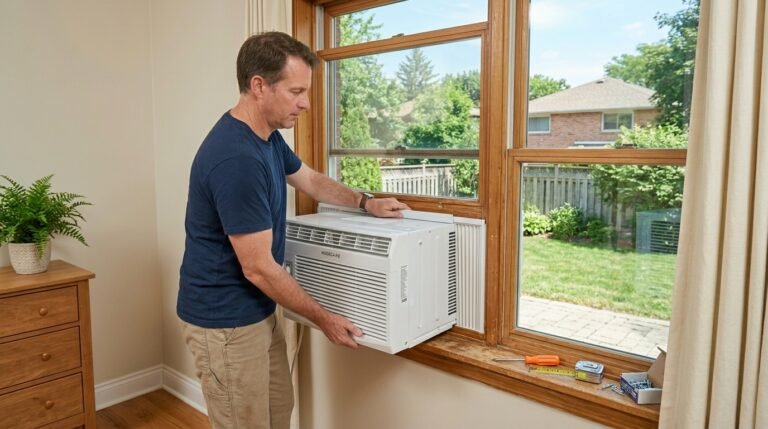
Step 1: Choose the Location
The indoor air handler should be mounted high on an interior wall, away from direct sunlight and heat sources. Leave at least 6 inches of clearance above the unit and 12 inches on each side. The outdoor unit needs a flat, stable surface with at least 12 inches of clearance on all sides for airflow.
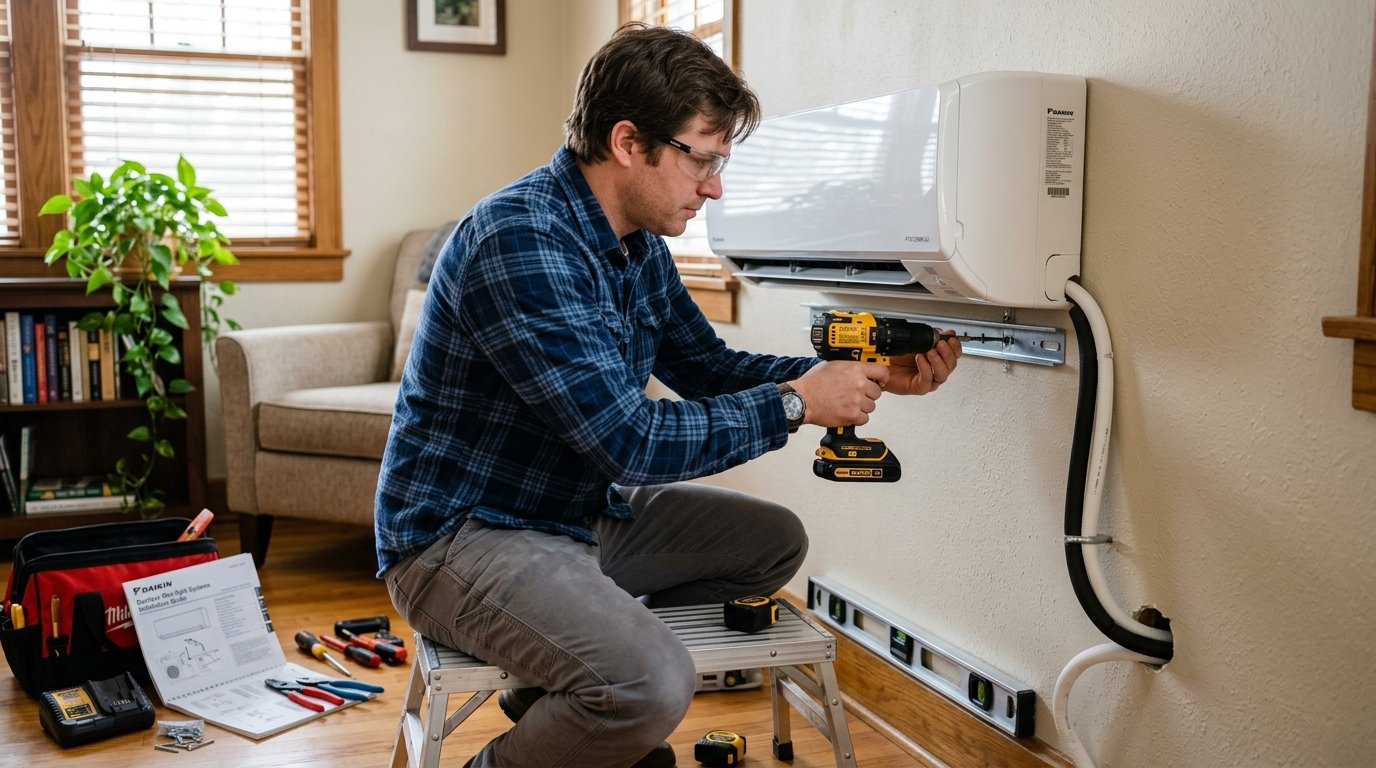
Step 2: Mount the Indoor Unit Bracket
Use a stud finder to locate wall studs. Attach the mounting plate directly to studs or use appropriate wall anchors. Use a level — a crooked unit will drain poorly and look unprofessional. Most mounting plates include multiple anchor points; use all of them.
Step 3: Drill the Wall Penetration
Drill a 2.5 to 3-inch hole through the wall at a slight downward angle toward the outside. This angle ensures condensate drains outward rather than into your wall. Insert the plastic sleeve that comes with your system to protect the lines from sharp edges.
Step 4: Connect the Line Set
For pre-charged DIY systems: connect the quick-connect fittings. They click into place — no tools required. Just follow the color coding. For standard systems: run the copper refrigerant lines and make flare connections. These connections must be leak-free, which is why they require a technician and pressure testing.
Step 5: Run the Electrical
Mini splits require a dedicated circuit — typically 15 to 30 amps depending on BTU rating. Run conduit from your electrical panel to a disconnect box near the outdoor unit, then wire to the unit per the wiring diagram. If you’re not confident with electrical work, this is the one step worth hiring out.
Step 6: Mount the Outdoor Unit
Use the included mounting brackets or purchase a wall-mount bracket. The unit needs to be level and elevated enough to stay above potential snow accumulation if you’re in a cold climate. Secure all refrigerant and electrical connections, then attach the line cover for a clean finish.
Step 7: Test the System
For pre-charged systems: turn on the power and run the system in test mode per the manual. For standard systems: the HVAC tech will evacuate the lines, check for leaks, and release the refrigerant charge before startup. Run the system in both cooling and heating modes to verify proper operation.
How Long Does Installation Take?
An experienced DIYer can complete a single-zone pre-charged system in 4 to 8 hours. First-timers should budget a full weekend. Standard systems with a technician typically take 4 to 6 hours for a single zone.
Permits: Do You Need One?
Most jurisdictions require a permit for mini split installation, especially for the electrical work. Check with your local building department before starting. Unpermitted work can cause problems when selling your home and may void your homeowner’s insurance.
Best DIY-Friendly Mini Split Systems
- MRCOOL DIY 12,000 BTU: The gold standard for DIY installation. Pre-charged quick-connect lines, app control, and solid performance. Read our full MRCOOL DIY review.
- Pioneer WYS Series: Good efficiency ratings and quieter than budget competitors. Requires refrigerant handling.
- Senville LETO Series: Budget-friendly option with decent performance. Good for garages and workshops.
For a full comparison of top systems, see our best mini split systems guide.
Refrigerant handling is regulated under EPA Section 608 refrigerant handling regulations. This is why pre-charged DIY systems are a significant advantage — they eliminate the need for certified refrigerant handling entirely.
When choosing your system, look for ENERGY STAR certified ductless systems to ensure you’re getting a unit that meets federal efficiency standards and may qualify for utility rebates.
Frequently Asked Questions
Can I install a ductless mini split myself?
Yes, with pre-charged DIY systems like MRCOOL DIY that include quick-connect refrigerant lines — no licensed technician required.
How long does mini split installation take?
An experienced DIYer can complete a single-zone pre-charged system in 4 to 8 hours.
Do I need a permit to install a mini split?
Most jurisdictions require a permit, especially for the electrical work. Check with your local building department first.
What size mini split do I need?
A general rule is 12,000 BTU per 400–600 square feet. Ceiling height and insulation also affect sizing.